Author: Adventures in Polishland

Day by Day Beauty Luxury Blotting Paper Review

Happy Thursday! If you’ve been a follower of mine for a while, you may know that one of my must have beauty products is oil blotting sheets. I always like to keep a pack with me in my purse so that if my skin gets shiny throughout the day I can take care of it easily without messing up my makeup. I’ve tried some high end blotting sheets in the past, but I have to say I always go back to the drugstore. When I got the opportunity to review Day by Day Beauty’s Luxury Blotting Paper, I was excited to see how well the product would work for me. Let me share my thoughts with all of you!

Day by Day Beauty Luxury Blotting Paper Review | Adventures in Polishland
Day by Day Beauty Luxury Blotting Paper Review | Adventures in Polishland
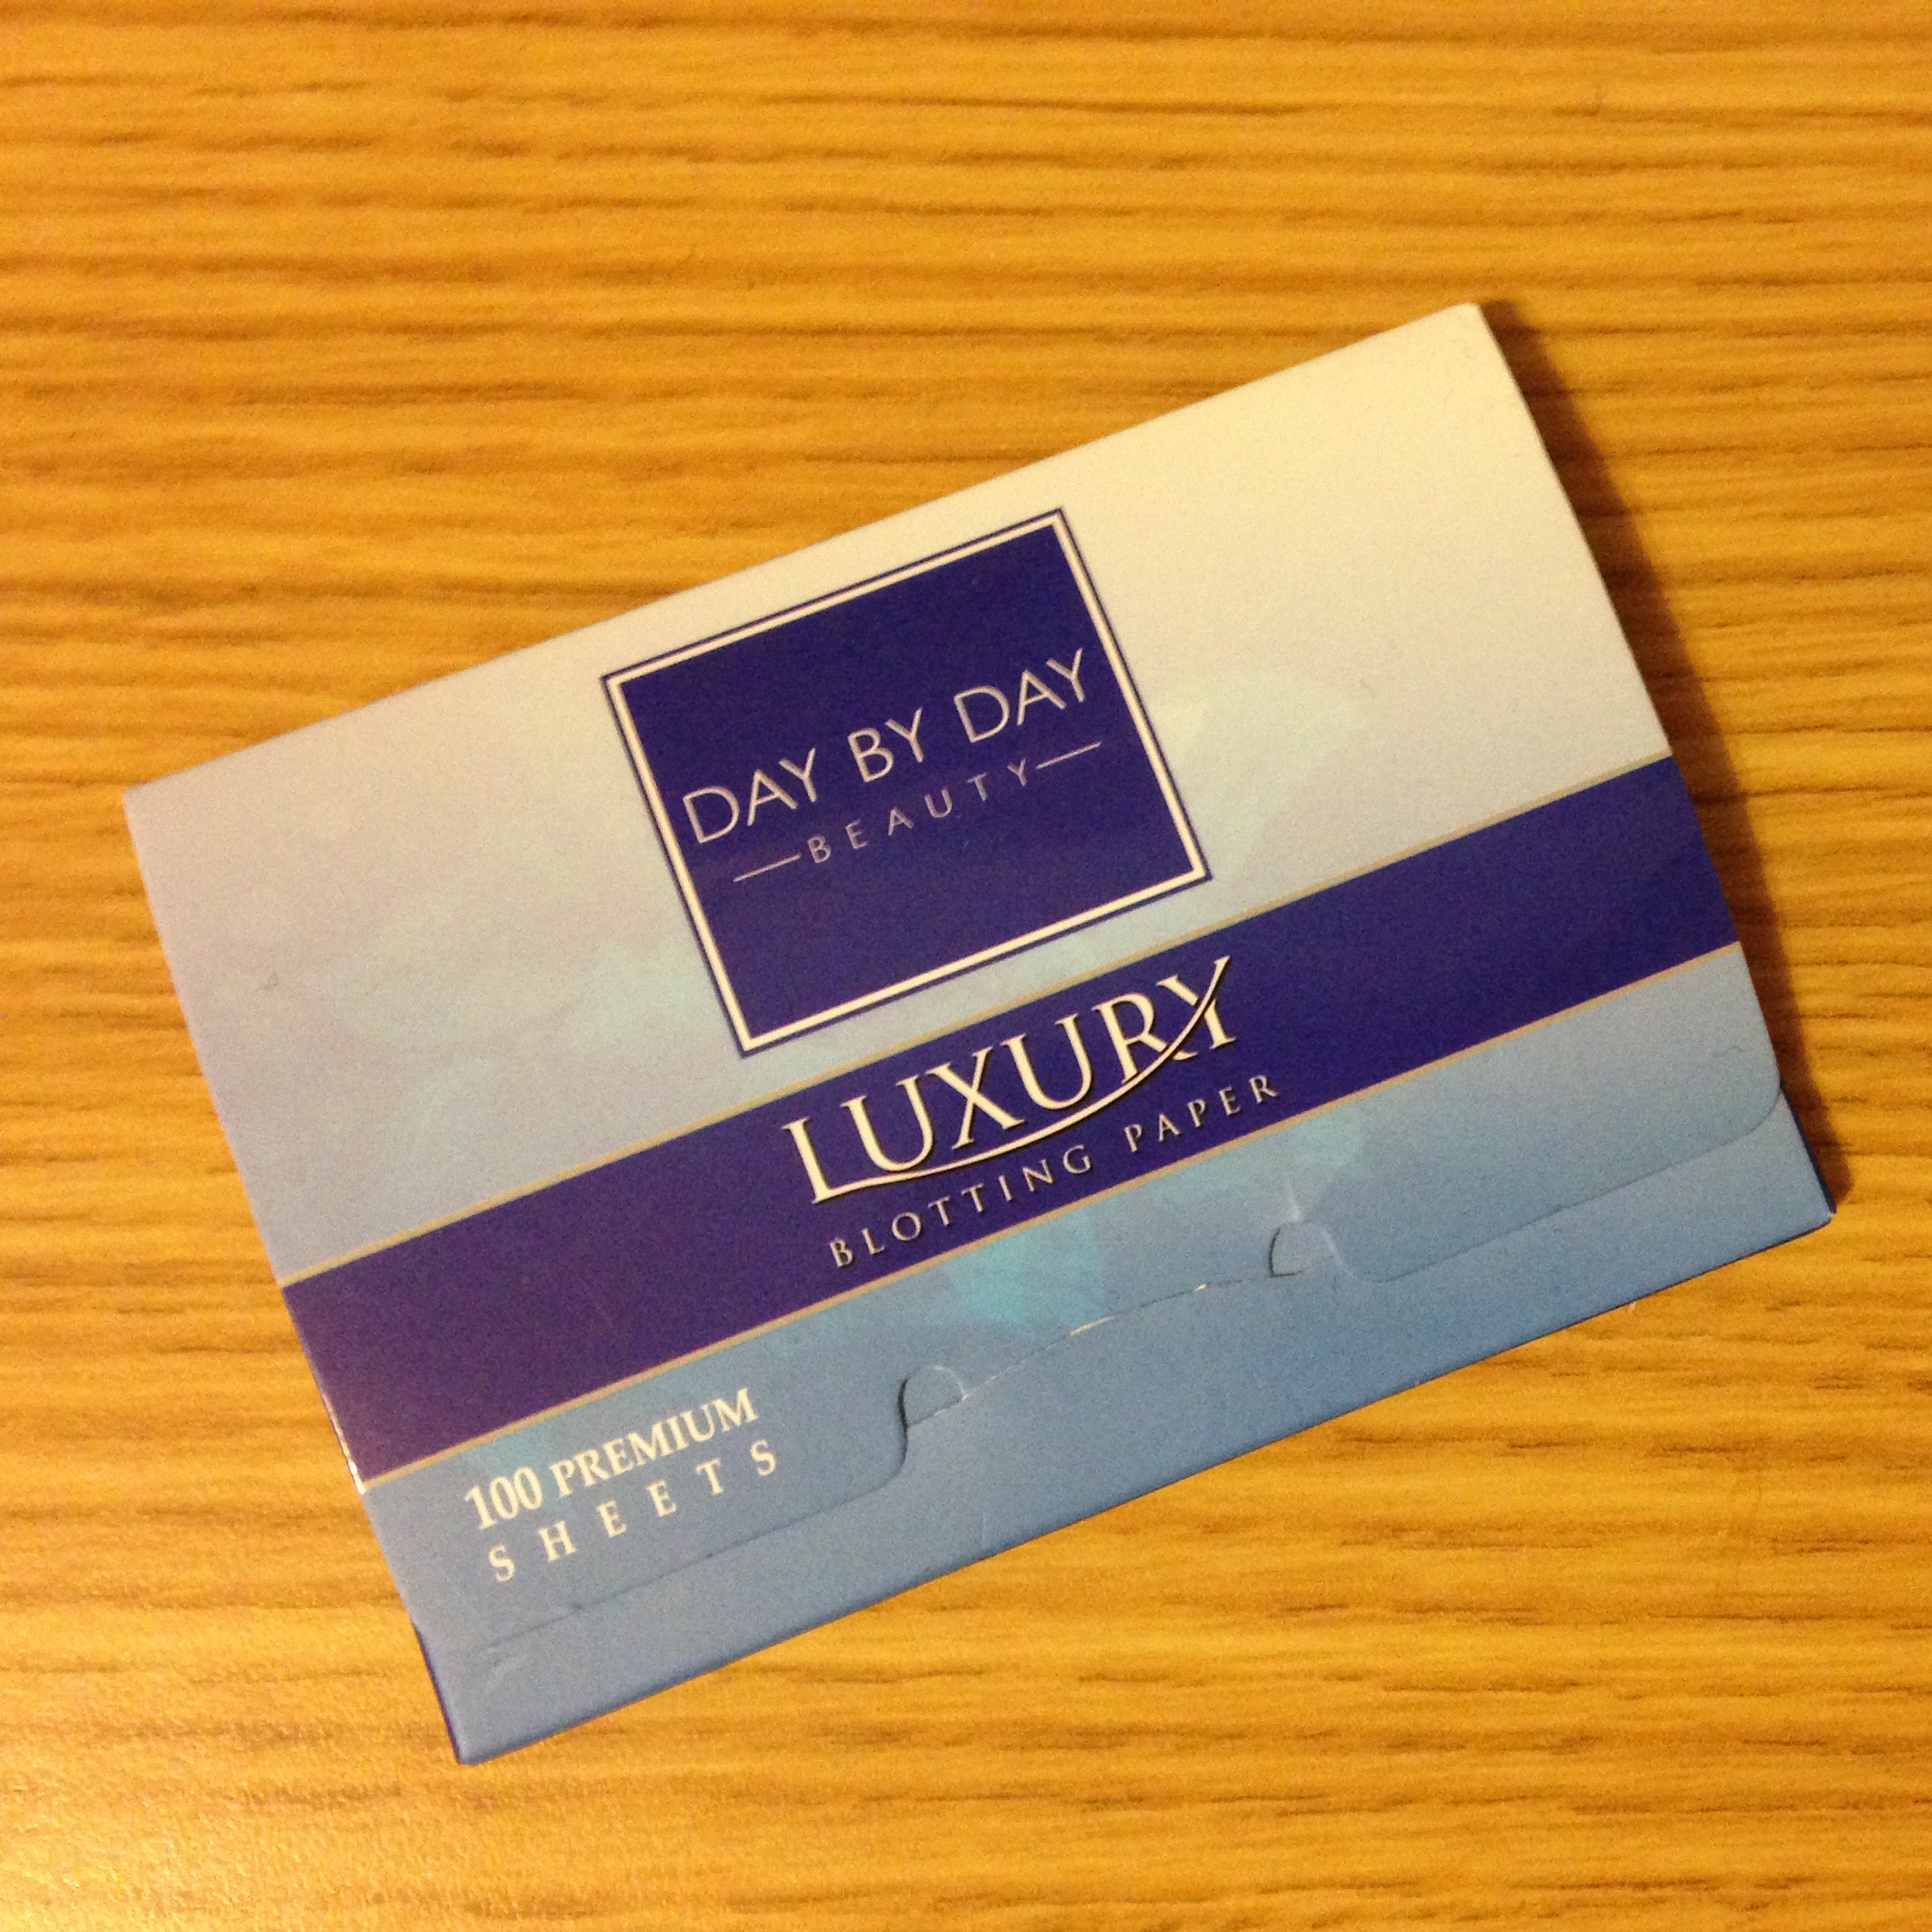
The Day by Day Beauty Luxury Blotting Paper is designed to gently remove excess oil and shine while leaving your makeup intact. The brand aims to leave your skin “petal fresh,” and each sheet is made with premium-grade, natural pulp fiber. I love the simple packaging, and it’s adorable that Day by Day includes a “Hello, beautiful” message inside the flap.

Day by Day Beauty Luxury Blotting Paper Review | Adventures in PolishlandThese blotting sheets are plain white, and have the feel of tissue paper. They are very thin, and I found they would break during use. Overall, they worked extremely well. I did sometimes have to use two sheets to get all of the oil off my face, but in the end I always got the shine-free result I wanted. They definitely left my makeup intact, but I did notice a bit of my foundation came off onto the sheet. This is probably due to the oil, and not the blotting sheet, but I still wanted to mention it.

All in all, the Day by Day Beauty Luxury Blotting Sheets work very well. The best part about them is the price tag. For $9.97 you get two packages of 100 sheets each. In other words, you are getting 200 blotting sheets, with each one being just 5¢! That is definitely a huge bargain, even when compared to the drugstore brand I usually purchase. Even if I use two blotting sheets at a time, I will not have to repurchase them for a while! I highly recommend the Day by Day Beauty Luxury Blotting Sheets. You can purchase them on Amazon HERE.

Please let me know in the comments what your must have beauty items are, and whether you love blotting sheets as much as I do!

The product in this post was provided for my unbiased review. All opinions are my own. See my Disclosure Policy for more information.

New Year Skin Resolutions featuring nügg Face Masks!

Happy Sunday! Today I am excited to share with you a review of some face masks from the skincare brand nügg. In addition, I will be sharing nügg’s New Year Skin Resolutions with all of you. Even though January has come to a close, it is not too late to make positive changes in your life in the form of resolutions. We still have eleven months left of 2015 to make sure our skin is healthier and more pampered than ever! Let me go ahead and show you the nügg masks!

New Year Skin Resolutions featuring nügg Face Masks!

nügg’s NEW YEAR SKIN RESOLUTIONS

To help combat dry and tired skin, nügg has created a list of New Year Skin Resolutions to keep you on track! If you follow this list, nügg is ensuring you will have a glowing complexion in 2015!

  1. Wear sunscreen every day. Try using a moisturizer that has SPF, that way you don’t have to add an extra step to your morning routine.
  2. Never sleep with your makeup on. Washing your face at night will prevent any dirt and impurities from seeping into your skin and causing breakouts. To ensure a thorough cleanse, use our Deep Cleansing mask. The Jojoba Lite Oil in this face mask dissolves sebum in a gentle, healthy way so that excess sebum can be rinsed off leaving you with hydrated, nourished skin.
  3. To lock-in extra moisture, apply your moisturizer when your skin is still slightly damp. For even more hydration, apply a thin layer of our hydrating mask as a sleep mask or below your foundation in the morning which also can serve as a beautifying primer.
  4. Clean your makeup brushes. Not only does old makeup start to build up on the bristles, but dust particles will stick to them as well. Be sure to wash your brushes at least once a week using any hair shampoo you have handy. You will notice quite the difference in makeup application and the clearness of your skin. Especially with sensitive skin, also make sure to use synthetic brushes (such as Tweezerman brush iQ).
  5. Drink no less than 8 glasses of water a day. Hydration is important on both the inside and out. Use our Hydrating mask twice a week to infuse moisture to the skin. The Spirulina Extract in this face mask provides a reservoir of water which it releases into the skin when needed.

REVIEW

Now that you have nügg’s resolutions in mind, it’s time for me to share my experience with the brand’s face masks! Each face mask comes individually packaged in a one-time-use pod. I really enjoy the packaging, but I will mention that I often needed scissors to get into the pod because the top layer of packaging peeled off leaving behind a clear film over the product. It’s not a big deal, but it did take some extra effort to get to the mask!

nügg Face Mask Review | Adventures in PolishlandHere is a quick look at what the masks look like inside the pod. Both the Cleansing and Hydrating masks I tested looked and felt exactly the same. The mask is a lotion-like substance that is white in nature. Unlike other masks I am familiar with, the nügg masks do not dry on your skin during application. Instead, they remain the same texture, making the rinse-off process take some extra time. Finally, there is no overwhelming scent with either of these masks, so if you are sensitive to smells you can use these masks for sure!

Deep Cleansing Face Mask

nügg FACE MASK Deep Cleansing ReviewI first tried the Deep Cleansing Face Mask that contains cucumber extract and jojoba oil for an ultra clean, shine-free look and feel. To use the masks, simply apply over clean and dry skin and let sit for 5-10 minutes before rinsing. You can use each mask once weekly or more often, depending on the care you need. I did like the Deep Cleansing mask, but it was difficult for me to tell if it really worked. My skin did appear clear and smooth afterwards, but I think I will see more of a difference after using the mask on a regular basis.

Hydrating Face Mask

nügg FACE MASK Hydrating Review

This week I tested the Hydrating Face Mask. This one contains camellia seed oil and spirulina extract to intensively hydrate and replenish dry skin. The application process is the same with this mask, but I do have to say I love the results much more! My dry skin was visibly better after the mask, as much of my redness went down significantly. In addition, my skin felt so plush and soft afterwards. I’m really loving this hydrating mask!

WHERE TO BUY

All in all, I am really enjoying these masks from nügg! They are easy to use, effective, and super affordable! You can purchase a single pod for $3.29 or grab a pack of five pods for $16.45. If you are looking to rejuvenate your skin in this new year, these nügg face masks are your new best friends! Please let me know in the comments if you’ve tried these masks, or which one you are going to grab for yourself!

Connect with nügg:

Website | Facebook | Twitter | Instagram

The products in this post were provided for my unbiased review. All opinions are my own. See my Disclosure Policy for more information.

Manicure Monday | Anise Bronzed Babe

Happy Monday! I’ve been enjoying showing you my manicures each week, so I think I’m going to continue with that this year. One of the nail polish groups I’m a member of on Facebook is hosting an Alphabet Theme Week for the next 26 weeks. I thought this would be really fun to take part in, and so this week I’m joining with the letter A! This week’s brand was A-England, but I don’t own any A-Englands at this point, so I rummaged through my collection to find another A brand. I decided to go with an Anise polish I got three years ago when I first started blogging!

Anise – Bronzed Babe Anise – Bronzed BabeBronzed Babe is a gorgeous metallic polish that lives up to its name in a bronze shade. It is opaque in two coats and has a great formula that applies with ease. I love the golden shimmer that is mixed throughout Bronzed Babe. It really gives a shiny and liquid metal feel to the look. I did apply a glossy top coat to finish the manicure, and I love the result!

Anise – Bronzed BabeI’m so glad I had an excuse to pull this Anise polish out of my collection to use again. I purchased it almost three years ago in the summer of 2012 and haven’t used it since then! You can purchase Anise polishes at your local DSW store. They are usually located near the cash register, and are often on sale for Buy One Get One 50%. In addition, you can use your DSW coupons on them! I definitely will be checking out my DSW soon now that my love for this brand has been rekindled.

Please let me know in the comments if you’ve tried any Anise polishes, and what shades you recommend!


Zoya Nail Polish Delight Collection for Spring 2015

Happy Friday! Today I’m excited to bring you a full review of the new Delight Collection from Zoya Nail Polish. This collection contains three creme polishes and three shimmer polishes to help you celebrate the spring season. I am always eager to test out the new Zoyas when they arrive to my doorstep, so let’s jump right into my review!

Zoya Delight Collection | Adventures in Polishland

Zoya – Lillian Zoya – LillianFirst up is Lillian, a pale blue creme polish. Lillian has a good formula, but I did experience some mild streaking. I applied three coats to get a flawless finish, and I really like the result. I’m definitely a sucker for pastel shades, especially in the spring, so Lillian is a great one to have in my collection.

Zoya  – Eden Zoya  – EdenNext up is Eden, a beautiful pink polish that Zoya calls a “spring flower” shade. Eden’s formula is great, and I applied two coats to achieve opacity. It is a bit on the tacky side, so I recommend thicker coats that you allow to dry completely between layers. If you’ve been a follower of mine for a while, you’ll know that I love pinks! Eden is so nice!

Zoya – Tiana Zoya – TianaTiana is the last creme shade in the Delight Collection, and it’s a stunning mint green. Tiana also had a formula that tended to be streaky, so I applied three coats for an even finish. I’m really loving this creme polish. Mint shades are always on trend in the spring, so if you’re looking for one to add to your collection, pick up Tiana!

Zoya – Rayne Zoya – RayneRayne is the first shimmer in the collection, and is a unique metallic blue with turquoise shimmer. Rayne is a bit sheer, but has a great formula. I applied three coats to achieve opacity. At first I didn’t really like how Rayne looked on me, but the more I look at it the more I like it! What do you think?!

Zoya – Daisy Zoya – DaisyMy biggest surprise in the collection is Daisy, a yellow polish with a yellow shimmer. I wasn’t too excited about this one, but when I put it on I was loving it! Daisy has a perfect formula that is opaque in two coats, and the yellow shade looks great with my skin tone. I can’t wait to use it again!

Zoya – Leslie Zoya – LeslieLast but not least is Leslie, a purple polish with a turquoise shimmer. Leslie is my favorite in the line, and has a wonderful formula that is opaque in two coats. I’m drooling over this gorgeous lavender shade. I don’t often wear shimmers every day, but I think Leslie will be an exception!

All in all, the Zoya Delight Collection contains some really fun and unique shades for the spring season! I definitely think Leslie is a must, and would recommend you grab any of the colors that appeal to you. These polishes can be purchased on the Zoya website HERE for $9 each or $54 for the entire set. Please let me know in the comments if you’ll be picking up any of these polishes!

The products in this post were provided for my unbiased review. All opinions are my own. See my Disclosure Policy for more information. 


Manicure Monday | Essie Play Date

Happy Monday! Today I wanted to share with you my current manicure. I’ve been digging through my nail polish stash lately, and discovered an entire box of purples that I haven’t seen in a long time (yes….a whole box!). I looked through that box and decided to go with one of my old favorites. Let me show you Essie Play Date!

Essie – Play Date Essie – Play DatePlay Date is a stunning purple creme polish in the lilac and lavender color family. It is opaque in two coats, and has a perfect formula. I think Play Date looks amazing with my skin tone, but I bet it would look great on anyone! I did follow up with a coat of Essie’s Good to Go top coat for some added shine, and because I want this manicure to last the week. However, Play Date has a nice, glossy finish on its own. It’s all-around one of my favorite purples in my entire collection!

Essie – Play DateYou can purchase Essie Play Date on Amazon HERE for $8.50. You can also check your local drugstore and save some cash by using store coupons. For example, CVS often offers a percentage off or a dollar off coupon on anything in the store. Please let me know your favorite Essie polish in the comments!

This post contains an affiliate link. All opinions are my own. See my Disclosure Policy for more information.

Mia Adora 3D Fiber Lash Mascara Review | Step by Step Photos

Happy Saturday! If you’ve been a follower of mine for a while now, you’ll know that I am a mascara junkie! In the past year or so, I’ve noticed a big trend in the beauty community when it comes to 3D Fiber Lashes. I was contacted by the brand Mia Adora to review its 3D Fiber Lash Mascara, so I decided to go for it and see if it lives up to the hype. Let me go ahead and show you the product and how it works!

ABOUT THE PRODUCT

Mia Adora 3D Fiber Lash Mascara Review Mia Adora 3D Fiber Lash Mascara ReviewThe Mia Adora 3D Fiber Lash Mascara comes in a sturdy case with a magnetic closure. I really like how the instructions on how to use the product are clearly printed on the inside of the case. As you can see, this set comes with two tubes – one is the Magnifying Gel and the other is the Natural Fiber Lashes. This product is designed to make your lashes instantly longer and thicker. In fact, the claim is that your lashes will be 300% magnified.

STEP BY STEP APPLICATION

Mia Adora 3D Fiber Lash Mascara ReviewHere are my lashes in their natural state. Can you see them?! I’m going to apply product on the left eye only so you can see the difference in the photos. Mia Adora also recommends you apply the product one eye at a time.

Mia Adora 3D Fiber Lash Mascara ReviewThe first step is to apply the Magnifying Gel from base to top in 15-20 strokes. This is a black gel that looks and feels like a normal mascara. It separates the lashes and primes them for the fibers.

Mia Adora 3D Fiber Lash Mascara ReviewWhile the Magnifying Gel is still wet, apply 10-15 strokes of the Natural Fiber Lashes from mid-lash to the top. Then, wait about 20 seconds for the fibers to dry.

Mia Adora 3D Fiber Lash Mascara ReviewFinally, apply another 15-20 strokes of the Magnifying Gel. This is designed to lock the fibers into place.

Mia Adora 3D Fiber Lash Mascara ReviewHere is my my finished look with one round of the 3D Fiber Lash Mascara. I do think my lashes look nice and full, but the look isn’t different from my normal mascara routine. The only difference is the bit of added length, but I could use some more volume.

Mia Adora 3D Fiber Lash Mascara ReviewMia Adora’s instructions mention that you can repeat Steps 2 and 3 if you want a more dramatic look. I did a second coat of the 3D Fiber Lash Mascara on my left eye so you can see how it compares to one coat. It definitely adds more volume, which I really like. If I were to use this mascara on a regular basis, I would definitely go for a second round of the mascara.

WHERE TO BUY

All in all, I think the Mia Adora 3D Fiber Lash Mascara is a good product to own if you have short eyelashes and you really want some added length. It does add some time to your makeup routine, and clean-up is very messy because the fibers go everywhere! Mia Adora does say that this can be worn over your normal mascara for an even more dramatic look, but because this product is $29.95 on Amazon HERE, I wanted to test it alone. I shouldn’t have to purchase an additional product to get my money’s worth! Thus, while I think the 3D Fiber Lash Mascara works, I do not see a 300% magnification in my lashes. I recommend it if you have the money and are looking to test out the product, but I don’t think this is a must have for your beauty routine. My drugstore mascaras get me results that I can enjoy just as much!

Please let me know your thoughts on the 3D Fiber Lash Mascara craze in the comments! Do you love it? Do you want to try it? I want to know!

The product in this post was provided for my unbiased review. This post includes an affiliate link. All opinions are my own. Please see my Disclosure Policy for more information. 


Saran Wrap Ombré Manicure for Valentine’s Day featuring Zoya Nail Polish!

Happy Friday! January is coming to a close soon, and that means Valentine’s Day is right around the corner. I wanted to create a festive manicure for the holiday of love that was a bit different than the looks I’ve created in the past. I got to thinking and came up with what I think is a super fun and easy nail art look! I raided my Zoya Nail Polish stash and found the shades that I needed. Let me show you what I’ve dubbed the Saran Wrap Ombré!

Saran Wrap Ombré Manicure for Valentine's Day featuring Zoya Nail Polish!

WHAT YOU’LL NEED:

For this manicure, I used an off-white base and five polishes ranging from light pink to red. I used all creme formulas for this manicure. You can choose whatever you have in your collection, but the shades I used, from lightest to darkest, are:

  • Zoya Jacqueline
  • Zoya Dot
  • Zoya Kitridge
  • Zoya Wendy
  • Zoya Rocha
  • Zoya Livingston

All of these polishes are available on Zoya’s website HERE.

Saran Wrap Ombré Manicure for Valentine's Day featuring Zoya Nail Polish! Saran Wrap Ombré Manicure for Valentine's Day featuring Zoya Nail Polish!Saran wrap nail art is super easy to create! I learned this technique from THIS Pin a few years back. All you have to do is paint your nails with a base color (here, Jacqueline). Once your base is dry, layer a coat of another color polish on top of your base and dab a small ball of saran wrap over your nail. You will get a cool marbled effect! Let your nails dry (they will look quite textured) and use a glossy top coat to even out the layers. I used two coats of top coat to get a flawless finish.

Saran Wrap Ombré Manicure for Valentine's Day featuring Zoya Nail Polish!This manicure can be a little messy to create, so I recommend you use separate pieces of saran wrap for each color polish. When you’re finished, take a Q-tip or clean-up brush and go around your cuticles with acetone to remove any excess. You will be left with a beautiful ombré manicure that is tied together with the marbled effect. I think it looks stunning!

All in all, I hope you liked this simple Valentine’s Day manicure featuring Zoya Nail Polish! Of course, you can use the saran wrap technique with any polishes and any colors you choose. I will definitely be using this technique more, as I forgot how easy it is to create and how great it looks! Please let me know in the comments if you’ve ever tried a saran wrap manicure, and what your manicure for Valentine’s Day this year will be!

The products in this post were provided for my unbiased review. All opinions are my own. See my Disclosure Policy for more information.


Zoya Naturel Satins Collection | Transitional 2015

Happy Thursday! I am beyond excited today to show you the brand new Zoya Natural Satins Collection! This line of six nail polishes has a unique satin finish that is somewhere between matte and glossy. They are designed to provide opaque coverage that lasts longer than your typical matte manicure, while still looking flawless and super chic. I shrieked when these beauties arrived to me for review, and you’ll see why when I show you the swatches. The Naturel Satins are stunning!

Zoya Naturel Satins Collection | Adventures in Polishland

Zoya – Ana Zoya – AnaFirst up is Ana, what Zoya describes as a light almond shade. Ana has a great formula that is opaque in two coats. The Satins have a very unique formula. When you apply them, you think they are going to dry streaky, but as they dry they magically transform into a smooth and flawless finish. Ana is no exception, and I love this unique color.

Zoya – Rowan Zoya – RowanNext up is Rowan, a light brown polish Zoya describes as a suede taupe. Rowan also has a perfect formula that is opaque in two coats. I can’t get over how chic these Satin polishes look on me! I would never think to put on a taupe polish for daily wear, but Rowan has changed my mind!

Zoya – Sage Zoya – SageSage is up next, and it is a gorgeous sage green polish. I really love green polishes, and Sage is no exception! Again, it has a great formula that is opaque in two coats. Sage is also an on-trend color for this time of year (I’ve seen people rocking sage fashion all over NYC!).

Zoya – Leah Zoya – LeahNext up is Leah, a Satin polish with just a hint of purple pigmentation. Leah is also opaque in two coats, and has the flawless Satin formula. I love the muted color of this polish, as it is so classy and work appropriate while still being a purple nail polish!

Zoya – Tove Zoya – ToveZoya Tove is another really unique shade! It is a slate grey polish with blue undertones. I applied two coats in the photos above, and I’m loving how it looks. Tove is edgy yet feminine at the same time!

Zoya – Brittany Zoya – BrittanyLast but not least is Brittany, a beautiful rose mauve polish, and my favorite in the Satins Collection! I saved Brittany to swatch last because I knew this just had to be my daily manicure of the moment. I’m wearing it as I type up this post! Of course, Brittany has a perfect formula that is opaque in two coats. If you get only one polish from this collection, I highly recommend Brittany!

All in all, I am beyond in love with the Zoya Naturel Satins Collection! As this is Zoya’s transitional line this year, these six polishes can help bring you from winter to spring in style. Each polish has an amazing formula and stunning finish. I can’t recommend them to you enough! You can purchase these polishes on Zoya’s website HERE for $9 each or $54 for the set. Please let me know in the comments which Satins you’ll be picking up!

The products in this post were provided for my unbiased review. All opinions are my own. See my Disclosure Policy for more information. 

Striping Tape Nail Art featuring Sally Hansen Lustre Shine Moonstone

Happy Monday! I’ve been trying to reach into my nail polish collection and use polishes that I haven’t picked up in a while. This weekend I was drawn in by Sally Hansen Lustre Shine in the shade Moonstone. I decided to create a cool, punk inspired nail art look. Let me show you the final product!

Striping Tape Nail Art featuring Sally Hansen Lustre Shine Moonstone Striping Tape Nail Art featuring Sally Hansen Lustre Shine MoonstoneWHAT YOU NEED:

  • Black Nail Polish – Michael Marcus Once You Go Matte
  • Opalescent Nail Polish – Sally Hansen Lustre Shine Moonstone [BUY]
  • Glossy Top Coat – Essie Good to Go [BUY]
  • Striping Tape [BUY]
  • Scotch Tape [BUY]

To create this awesome manicure, I began by painting my nails with a black base. Then, I applied two coats of Moonstone over the black and let that dry completely. I then used striping tape to create a double “X” on every nail except my accent nail. Once the striping tape was in place, I painted over it with the black polish and carefully peeled off the tape. For the accent nail, I simply used Scotch tape and left a triangle on the base of my nail. Last but not least, I used a glossy top coat and applied two coats to each nail once my polish was completely dry. This evened out the layers and left me with a shiny finish.

Striping Tape Nail Art featuring Sally Hansen Lustre Shine MoonstoneAll in all, I am absolutely loving this funky manicure! It was so easy to create and it allowed me to use some of my older polishes in a new way. This look can be adapted to fit your personal tastes by changing up the colors or the patterns. I love experimenting with tape! Please let me know in the comments if you like my manicure, and let me know if you like using striping tape, too.

Some of the products in this post were provided for my unbiased review. Some of the links in this post are affiliate links. All opinions are my own. See my Disclosure Policy for more information. 

Defeat Winter Hair & Skin with InstaNatural | Argan Oil, Argan Oil Hair Mask & Vitamin C Serum Reviews

Happy Sunday! Today I have three product reviews to share with all of you. I recently discovered a brand called InstaNatural that is dedicated to creating safe, affordable, and natural skincare products. InstaNatural recently came out with its first hair mask as well, so they sent me three goodies to test out. If you’re looking to pamper your skin and hair in these cold winter months, this is the post for you!

InstaNatural Product Reviews | Argan Oil, Argan Oil Hair Mask, & Vitamin C Serum

ARGAN OIL

InstaNatural Argan Oil Review

4oz Bottle – $17.95

BUY: Amazon | InstaNatural Store 

About the Product

“InstaNatural’s 100% Pure & Organic Argan Oil is a multipurpose moisturizer essential to helping you achieve beautiful skin, hair, nails and body. The cold-pressed oil is lightweight, fast absorbing, and free of fragrances, chemicals and preservatives. Whether you are looking to freshen and soothe dry skin, repair damaged hair, or strengthen brittle nails and cuticles, the application of natural Argan oil is a perfect addition to your daily regime.” – InstaNatural

My Experience

I was nervous to test out this Argan Oil because in the past a similar product broke out my skin terribly. I decided that I would not use this oil on my face because my skin can be sensitive. Instead, I use it primarily on my hands. It is perfect for my dry hands, and it really soothes my cuticles. I do find the scent a bit weird, but that’s due to InstaNatural leaving the oil in its natural state. It’s not totally overwhelming, so I can deal with it! Plus, I really love that this oil comes with a pump bottle so I don’t have to worry about a mess. Just one pump is enough to moisturize my hands.

ARGAN OIL HAIR MASK

InstaNatural Argan Oil Hair Mask Review InstaNatural Argan Oil Hair Mask Review8oz Tub – $17.95

BUY: Amazon | InstaNatural Store

About the Product

“InstaNatural’s Argan Oil Hair Mask is a deep conditioning treatment designed to transform dry and damaged strands into soft, shiny, healthy hair. Its restorative ingredients – such as Argan Oil, Japanese Green Tea, Amino Acid Complex, Coconut Oil, Shea Butter, Jojoba Oil, Avocado Oil & Vitamin B5 – work together to penetrate hair deep down and deliver ultimate nourishment and hydration to enhance texture and shine. This intensive blend full of organic ingredients also serves to strengthen hair to defend against heat damage and other external aggressors.” – InstaNatural

My Experience

This hair mask came into my life at the perfect time! Not only am I about to run out of the hair mask I’ve been using, but my hair is definitely suffering in this dry, winter weather. My favorite thing about this Argan Oil Hair Mask is that it can be used either as a deep conditioning treatment 1-2 times per week or in place of your regular conditioner. To use as a treatment, let the mask soak into your hair for 5-20 minutes and then rinse out. Otherwise, use as you would your daily conditioner. I chose to use the mask as a treatment. I really like the texture as it is lighter than a typical hair mask but still heavy enough for some deep conditioning. I left it on my fine hair for about five minutes and was really surprised when I didn’t have much to rinse out. My hair was so dry it absorbed nearly all of the oil! In fact, my hair looked shinier and felt smoother all day long, too. I’ll be using this on the regular for sure!

VITAMIN C SERUM

InstaNatural Vitamin C Serum Review

InstaNatural Vitamin C Serum Review

1oz Bottle – $16.97

BUY: Amazon | InstaNatural Store

About the Product

“InstaNatural’s Vitamin C Serum is an enriched formula packed with ingredients that hydrate and nourish skin to fight against the signs of aging. Our new formula now includes even more nutrients to help diminish the appearance of spots and discoloration, such as rosehip oil, argan oil, plant stem cells, algae extract and sea buckthorn oil. The vigorous combination of these ingredients form a super serum blend that delivers ultimate antioxidant care for your skin.” – InstaNatural

My Experience

I’ve used a different Vitamin C Serum in the past and fell in love with it. Same goes for this one from InstaNatural! I was a bit surprised to see that this serum is a bit on the thick side and is a bright orange color. However, this serum feels amazing and I can definitely feel the difference in my skin after just one week of use. My skin is more hydrated, even, and clear, and it just looks better as well. I’ve even gone a few days without my normal makeup routine because I just feel more confident. This Vitamin C Serum is a keeper for sure!

All in all, I’m so glad InstaNatural gave me the opportunity to test out the brand’s products! I’m really impressed with each one, and I’m especially loving the Vitamin C Serum and Argan Oil Hair Mask. I also love the amazing prices of the InstaNatural products. You get a LOT of product for the price – it’s almost like buying in bulk when it comes to the Hair Mask! I highly recommend you check out this fabulous line!

Connect with InstaNatural

Website | Facebook | Twitter | Google+ | Amazon

The products in this post were provided for my unbiased review. This post contains some affiliate links. All opinions are my own. See my Disclosure Policy for more information.