Happy Tuesday! Today I am excited to share my thoughts on the complete Naturel 3 Collection from Zoya Nail Polish with you. The Naturel Collection contains neutral shades from light to dark, and this spring there are six new polishes added to the line. All of the polishes are cream formulas, which I really love. If you work in a professional environment, or you simply love to wear more natural nail polish shades, this is the collection for you! Let me share my swatches and full review of Zoya’s Naturel 3.

As mentioned above, all of the polishes in the Naturel 3 Collection are cream formulas. I am wearing two coats of each polish in the swatches, and I am not wearing a base coat.

 First up is Tatum, a warm cream shade. Tatum applies beautifully, and I really like how it dries to a high gloss finish. I can see myself wearing this shade daily, as it is close to my skin tone, but just a bit warmer. Tatum is also a great staple to have if you do a lot of nail art.

 Next up is Cathy, a dusty rose pink shade. For some reason Cathy looks a bit brown on my nails, but it is still a gorgeous nail polish. I see Cathy as a polish that will look beautiful on any skin tone, and it also is a great transitional shade between seasons.

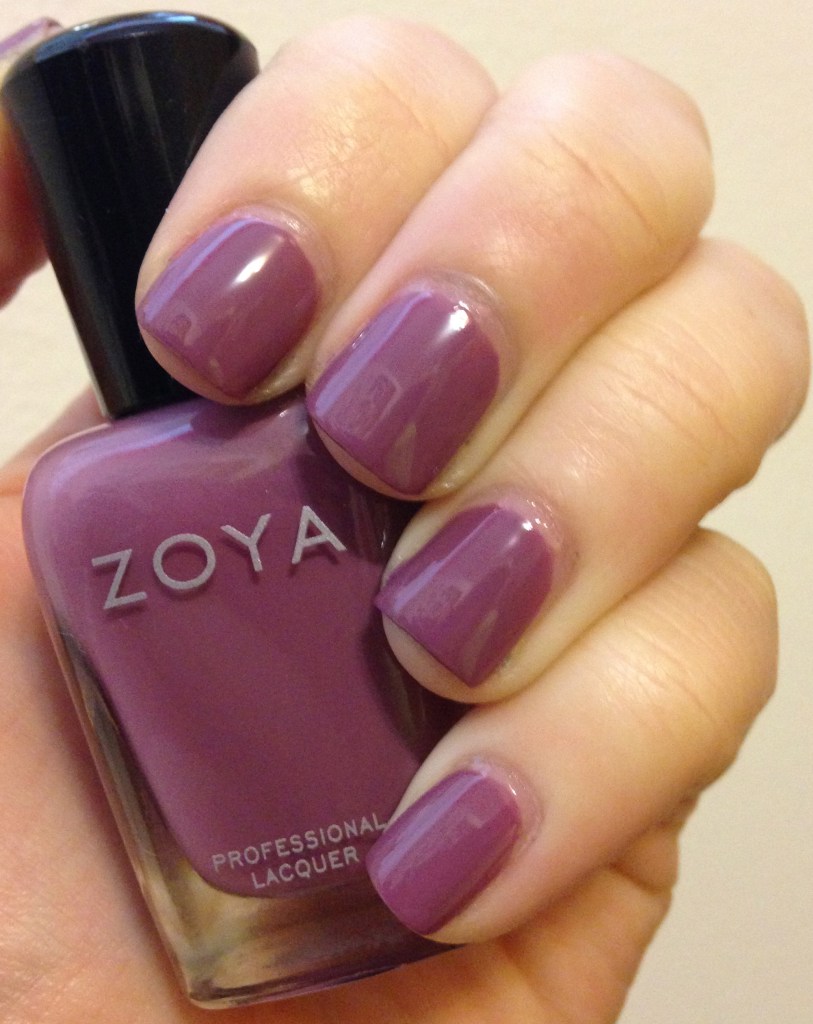
 If you are looking for a more purple-toned mauve, Jill is the polish for you! Jill’s formula is a bit thinner, but it is still opaque in two coats. I recommend doing thicker layers with this polish, or you may need to add a third coat.

 Now we are moving onto the three darker shades in the Naturel 3 Collection. First up is Mary, what Zoya calls a raisin shade. I really love Mary, and I’m surprised that I do! I’m not usually a person to wear brown nail polish, but this one is beyond stunning. Plus, it is very pigmented and nearly a one-coat formula!


Next up is Gina, a medium brown shade. I love how Gina looks on my nails, but the formula of this polish is a bit tacky. This is the only polish in the collection that I really had an application issue with, but it still dried to a smooth finish so it’s really not a problem.

 Last but not least is Debbie, a rich plum brown shade. Debbie is definitely my favorite in the collection. I love how pigmented and dark this polish is! This will be a polish I wear a lot this coming fall.
All in all, I’m loving the Zoya Nail Polish Natural 3 Collection! As always, the cream formulas are great, and there is a wide shade range. Of course, I also love that Zoya’s polishes are vegan. You can buy the Naturel polishes on Zoya’s website HERE for $10 each. You can also see my reviews of the first two Naturel Collections HERE and HERE.
Which Naturel 3 shade is your favorite? Let me know in the comments!
The products in this post were provided for my unbiased review. All opinions are my own. See my Disclosure Policy for more information.


